An end-of-year deck inspection catches small problems before they become expensive repairs and ensures your outdoor space stays safe through winter and ready for spring entertaining. Spending 30 minutes checking key structural elements, surface conditions, and safety features now saves you from discovering issues when you’re trying to host that first warm-weather barbecue in March.
Most deck problems don’t announce themselves until they’re serious. A loose railing post wobbles slightly for months before it becomes dangerous, while water damage starts under the surface long before you see rot. The end of the year is the perfect time to catch these issues after a full season of use, and you still have time to schedule deck repairs before the holidays drain your budget and contractors’ schedules fill up.
What You’re Looking For
Your inspection should focus on three main areas: structural integrity, surface damage, and safety hazards. You don’t need special tools or expertise to spot most problems – just a screwdriver, flashlight, and 30 minutes of attention will catch 90% of issues that need professional attention.
Start underneath your deck if possible, as this is where water damage, pest activity, and structural problems show up first but get noticed last. If you have an elevated deck, grab a flashlight and look up at the joists, beams, and connection points between your deck and house.
Structural Elements to Check
Ledger Board Connection
This is where your deck attaches to your house, and it’s the single most critical connection point. Look for gaps between the ledger and your home’s exterior, water stains, or any separation. Press firmly against the deck near the house – if you feel any movement or bounce, that’s a problem that needs immediate attention.
We rebuilt a deck in Encino last spring where the ledger had pulled away from the house by nearly half an inch. The homeowner never noticed because the gap was hidden by the deck boards, but it was one heavy rainstorm or crowded party away from serious failure.
Footings and Posts
Walk around the perimeter and check each support post where it meets the ground or footing. Look for concrete that’s cracked or pulling away from the post, wood that looks darker or feels soft when you press a screwdriver into it, and any posts that seem to lean or have shifted position.
In hillside locations like Studio City or the Hollywood Hills, soil movement is common and footings can shift over time. This gradual movement might not be obvious at first glance, but it compromises your deck’s stability.
Joists and Beams
From underneath, look at the main beams and joists for cracks, splits, or sagging. Pay special attention to anywhere wood meets metal (joist hangers, brackets, bolts), as rust stains, white mineral deposits, or flaking metal all signal water problems. Run your hand along the bottom of joists near the house – if you feel dampness or see dark staining, you’ve got a drainage issue that needs fixing before it rots the framing.
Connection Hardware
Check every visible bolt, screw, lag, and bracket. Loose fasteners are common and easy to fix if you catch them early, but corroded or rusted hardware needs replacement. The International Code Council requires galvanized or stainless steel fasteners for proper deck connections, especially in coastal areas where salt air accelerates corrosion. We see this constantly in Santa Monica and Manhattan Beach where ocean air eats through inferior hardware in just a few years.
Surface and Decking Inspection
Walk your entire deck surface slowly, paying attention to how it feels under your feet. Soft spots, excessive bounce, or squeaking sounds all indicate problems underneath that need investigation.
Deck Boards
Look for boards that are cupped, twisted, or warped, and check for cracks wider than a quarter inch, especially near fasteners where boards are most likely to split. Splinters are common in wood decking but shouldn’t be ignored – they indicate the protective finish has worn away and the wood is weathering. For composite decking, look for fading, staining, or any boards that seem to be pulling away from their fasteners.
Test a few random boards by trying to lift the ends – they shouldn’t move. If boards lift easily, the fasteners have failed or the wood has shrunk. We replaced the decking on a Silver Lake home last year where half the screws had backed out over time. The homeowner only noticed when their daughter’s friend caught a flip-flop on a raised screw head.
Gaps and Spacing
Proper spacing between deck boards allows water to drain and wood to expand and contract. Gaps should be consistent, typically 1/8 to 1/4 inch for wood and 1/4 inch for composite. Gaps that have closed up completely or widened significantly both signal problems with how the deck was built or how the material is aging.
Surface Drainage
After rain, walk your deck and note any puddles or standing water. Decks should shed water quickly – pooling water accelerates rot, creates slipping hazards, and generally means the framing has sagged or wasn’t built with proper slope. A properly built deck has a slight pitch away from the house, usually about 1/4 inch per foot.
Railings and Stairs Safety Check
Railings and stairs cause more injuries than any other deck component, mostly because people trust them without thinking about their condition. Your inspection should be hands-on and aggressive – if railings are going to fail, better to discover it during testing than when someone’s leaning against them at your next party.
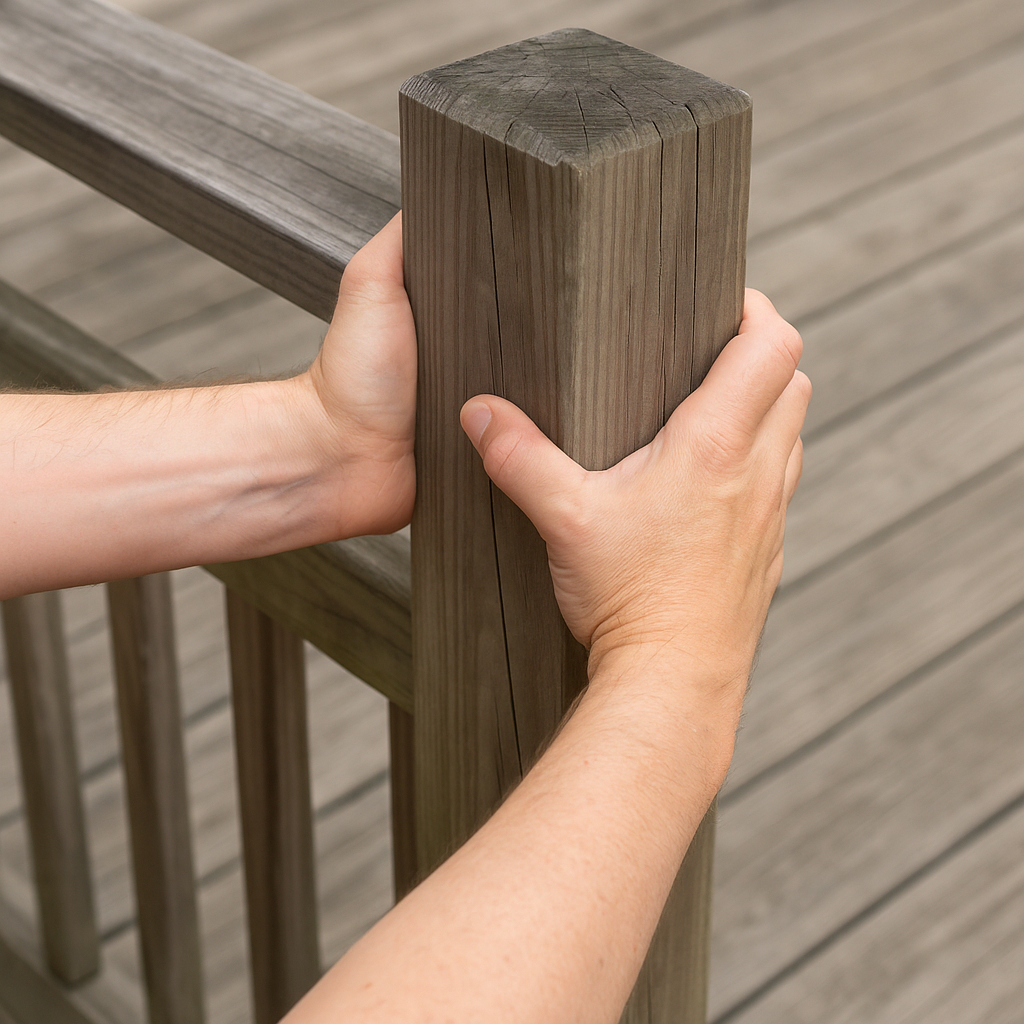
Railing Stability
Grab the top rail firmly and push hard, then pull hard. Try to shake posts – nothing should move more than slightly. Railings must withstand 200 pounds of force in any direction per building code. Walk the length of the railing doing this every few feet. Loose railings usually fail at the connection points, either where posts attach to the deck frame or where rails connect to posts.
Baluster Spacing and Condition
Balusters (the vertical pieces between posts) shouldn’t have gaps wider than 4 inches – that’s a safety requirement to prevent small children from squeezing through or getting their heads stuck. Check for cracked, split, or loose balusters. Wood balusters often rot at the bottom where they meet the deck because water collects there.
Stair Treads and Risers
Test each stair by stepping firmly in the center and at both edges. Listen for squeaks or feel for movement – stairs take more abuse than any other part of your deck and wear out faster. Look for worn, cupped, or cracked treads, and make sure all risers (the vertical space between steps) are the same height. Inconsistent riser heights are a major tripping hazard and a code violation.
Handrails
Stair handrails should be 34 to 38 inches high and return to the post or wall at the top and bottom so clothing can’t catch on the end. The rail should be smooth and comfortable to grip. Check that it’s firmly attached and doesn’t rotate or shift when you put weight on it.
Problem Signs That Need Professional Attention
Some issues are DIY-fixable, while others require immediate professional help. Here’s what should trigger a call to a contractor:
Structural movement demands immediate evaluation. Any bounce, sway, or separation between deck and house isn’t something to monitor or fix yourself.
Extensive rot in structural members needs structural deck repairs. Surface rot on a couple of deck boards is manageable, but rot in joists, beams, or posts means serious problems. If you can push a screwdriver into wood more than half an inch with light pressure, that wood has lost its strength.
Widespread fastener failure suggests systematic problems. A few loose screws are normal, but dozens of loose or corroded fasteners indicate issues with how the deck was originally built or maintained.
Significant settling or shifting needs expert assessment. If posts have moved, footings have cracked, or the deck appears to have settled unevenly, you need an engineer or experienced contractor to assess whether the foundation is failing.
Code violations aren’t just safety issues but also liability problems. If your railing is too low, balusters are spaced too far apart, or stairs don’t have handrails, these need fixing before someone gets hurt.
Quick Maintenance While You’re Inspecting
If you find minor issues during your inspection, fix them right away rather than making a list for later. Keep a drill and appropriate bits handy to snug up any loose screws or bolts you find – just don’t overtighten, you want them firm, not stripped.
Use a putty knife or stiff brush to remove leaves, dirt, and debris trapped between boards. This stuff traps moisture and accelerates rot. Make sure water can escape from under your deck by removing any leaves or debris blocking the space between the ground and your deck, and trim back vegetation that’s growing too close to posts or beams.
If you find boards that need replacement or areas that need refinishing, measure and note exactly what you need so you can get materials ordered before you forget the details.
Winter Considerations for Southern California
Los Angeles winters are mild compared to most of the country, but they’re actually harder on decks in some ways. We get occasional heavy rains, then long dry periods, then more rain. This wet/dry cycling is tough on wood and can expose weaknesses in construction.
Rain Preparation
Clean your gutters before winter storms arrive. Overflowing gutters dump water directly onto your deck and against your house where the ledger board attaches – that’s the fastest way to create serious water damage. Secure or store lightweight furniture, planters, and decorations, as Pacific wind storms can turn these into projectiles that damage railings, boards, or windows.
Mold and Mildew
Our mild, damp winters create perfect conditions for mold growth on decks, especially on north-facing surfaces that don’t get much sun. If you spot mold during your inspection, plan to clean the deck thoroughly before it spreads. Professional deck cleaning in January will prevent mold from taking hold.
Frequently Asked Questions
How often should I inspect my deck? Inspect thoroughly once a year, ideally in late fall or early winter. Do quick visual checks quarterly and after any major weather events. Decks over 10 years old should be professionally inspected every 2-3 years even if you do your own annual checks.
What’s the average lifespan of a deck in Los Angeles? Wood decks typically last 15-20 years with proper maintenance, though some species like IPE or redwood can last 25-30 years. Composite decking materials usually come with 25-30 year warranties and last longer with less maintenance. The actual lifespan depends heavily on maintenance, sun exposure, and whether the deck was properly built.
Can I do deck repairs myself? Simple repairs like replacing a few deck boards, tightening fasteners, or refinishing are reasonable DIY projects if you’re handy. Anything structural (joists, beams, ledger connections, footings) should be handled by professionals. Railing repairs can be DIY if you understand local building codes and can ensure the repair meets safety requirements.
What time of year is best for deck repairs? Late winter through early spring (January to March) is ideal in Los Angeles. The weather is mild, contractors are less busy, and repairs will be complete before the heavy use season starts. Avoid scheduling major repairs in summer when you want to use your deck and contractors are booked solid.
How much does a professional deck inspection cost? Professional deck inspections in Los Angeles typically run $150-300 depending on deck size and complexity. Many deck contractors will credit this cost toward repairs if you hire them for the work. Given that catching problems early can save thousands in repairs, it’s a worthwhile investment for older decks.
Should I hire an inspector or a deck contractor? For a straightforward safety inspection, a qualified deck contractor is usually sufficient and more practical since they can give you repair estimates on the spot. For complicated situations (buying a home with an old deck, structural concerns, code compliance questions), hire a structural engineer or certified home inspector who specializes in decks.
What’s the biggest mistake homeowners make with deck maintenance? Ignoring problems because they’re not immediately dangerous. A slightly loose post or small area of rot seems minor, but these issues accelerate quickly. The second biggest mistake is pressure washing wood decks too aggressively – high pressure damages wood fibers and actually makes decks age faster.
When Inspection Reveals It’s Time for Something New
Sometimes an honest inspection reveals that repair isn’t the answer. If you’re finding multiple structural issues, extensive rot, or code violations throughout your deck, the math often favors replacement over trying to patch an aging structure. A deck that needs new joists, new ledger connections, new railings, and new decking isn’t really being repaired – it’s being rebuilt one expensive piece at a time.
We’ve worked with countless Los Angeles homeowners who spent years nursing along problem decks with repairs, only to wish they’d built new sooner. A new deck built to current codes gives you peace of mind, better materials, improved design, and decades of use ahead. Plus, modern composite decking and advanced construction techniques mean your new deck will require a fraction of the maintenance your old one demanded.
If your end-of-year inspection is revealing more problems than solutions, let’s talk about building the deck you actually want. At our deck building company, we’ve spent over 20 years designing and building custom decks across Los Angeles County. We’ll help you understand whether repair makes sense or whether it’s time to invest in something better. Get in touch for a free consultation and honest assessment of what your outdoor space could become.